Install TeamSpeak Server on Raspberry
Finish
We install Teamspeak on a Raspberry PI in our own network. The ports are routed directly on the Raspberry with port forwarding. The Teamspeak is thus accessible from the Internet. Advantage? We can run a Teamspeak server for little money. A provider usually incurs costs of 5 to 10 euros per month. The Teamspeak server we have to operate for about 6-10 months and the costs of the Raspberry are back in it.
Prepare Raspberry Pi
In this guide, we use Raspberry's imager. If you prefer to install Ubuntu by hand, you can find instructions at: Ubuntu Server installieren – 20.04 LTS
Download and install Raspberry Pi Imager https://www.raspberrypi.org/software/
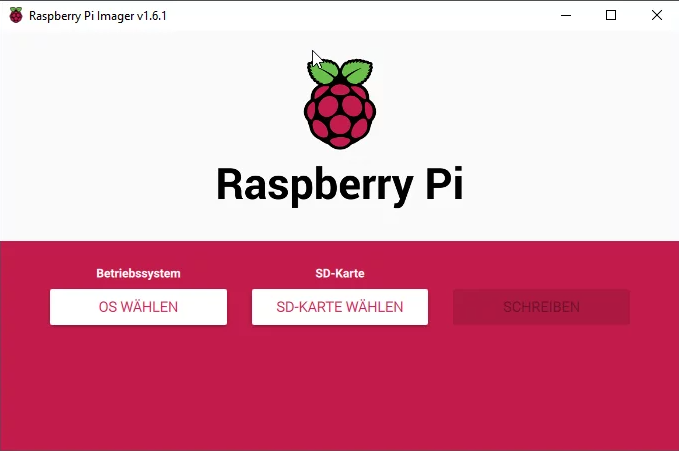
Run Imager
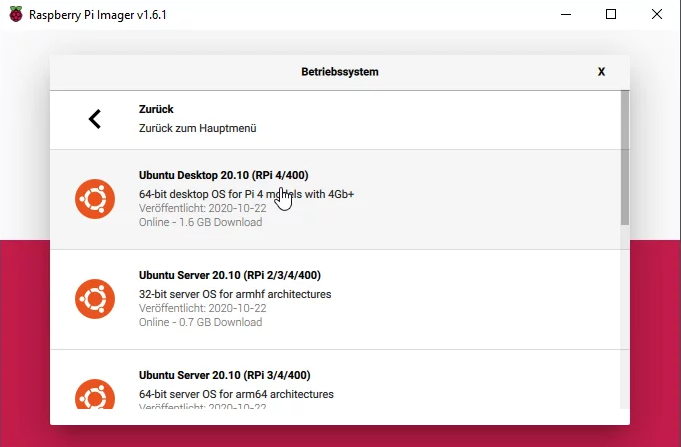
Select Ubuntu Server. Alternatively, a Raspberry PI OS can be installed.
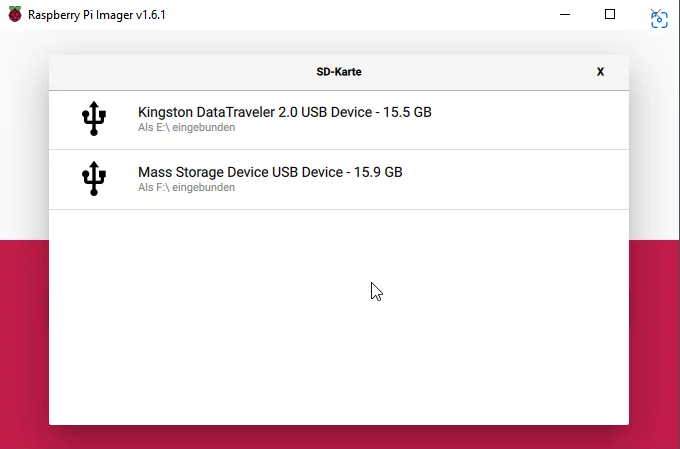
Select SD card
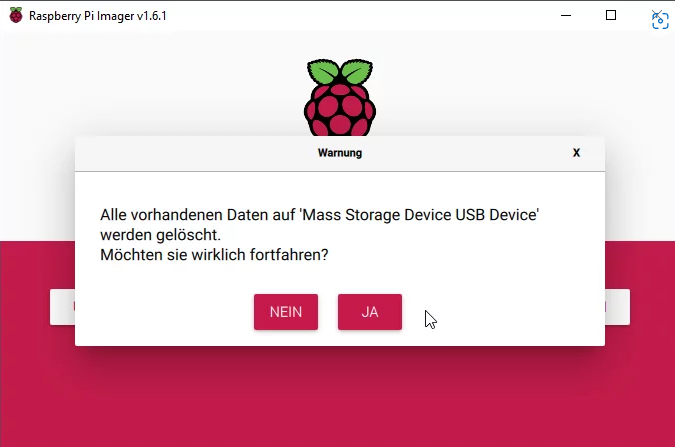
The SD card can now be written with "WRITE". The image is downloaded and unpacked to the SD card. Before writing, check whether the correct card has really been selected. The SD card will be erased during this procedure and all data will be lost.
Insert the SD card into the Raspberry and supply it with power and network. It is important that the Raspberry Pi gets the opportunity to obtain an IP via DHCP.


Connect to Raspberry with SSH
The Raspberry is already running Ubuntu Server and we found it on the network. Now we would only have to be able to access the server via SSH. For this we use the program PuTTY under Windows and the terminal under Linux.
Run PuTTY and enter IP address in the field
Click on the Open button below. The connection is now established.
Accept fingerprint
Login with the username ubuntu and the password ubuntu
Perform updates with apt update && apt upgrade
Restart Raspberry with sudo reboot
Default user and password: ubuntu
Installation TeamSpeak Server
TeamSpeak itself does not have a build for an ARM processor. So it is not possible for us to install the Teamspeak Server in the normal way. The detour is via an emulator for an i386 processor.
So that we don't kill you with a huge guide about the emulator, we use a Docker image from Github – https://github.com/ertagh/teamspeak3-server-arm
Install Docker with sudo curl -fsSL https://get.docker.com | sh
i. Note: The process takes a few minutes.
Install Docker Image with code below
WITHOUT automatic restart
sudo docker run -d --name TeamSpeak -e TS_UPDATE=1 -e TS_UPDATE_BACKUP=1 -e TIME_ZONE=Europe/Berlin -p 9987:9987/udp -p 10011:10011/tcp -p 30033:30033/tcp -v /opt/teamspeak/:/teamspeak/save/ ertagh/teamspeak3-server:latest
WITH automatic restart
sudo docker run -d --name TeamSpeak --restart unless-stopped -e TS_UPDATE=1 -e TS_UPDATE_BACKUP=1 -e TIME_ZONE=Europe/Berlin -p 9987:9987/udp -p 10011:10011/tcp -p 30033:30033/tcp -v /opt/teamspeak/:/teamspeak/save/ ertagh/teamspeak3-server:latest
Now that we have waited a few minutes and the Teamspeak server has been installed, we have all the logs displayed. This is where the Super Admin password is hidden. Searches from the output section below. You will need this password the first time you connect to the server.
cat /opt/teamspeak/logs/*
You could now connect to your local TeamSpeak server with the IP address.
On the first connection you will be asked for a Server Admin password. Enter this from the logs. By entering the password you have full access to the server.
Start TeamSpeak automatically after a restart
In order for Docker to start your container automatically after a restart, you have to give Docker accordingly. This is done with the following command.
sudo docker update --restart unless-stopped TeamSpeak
With Update, the start routine of a running container is adjusted.
If you want to start all containers again and again, you can configure this the easiest way.
sudo docker update --restart unless-stopped $(docker ps -q)